



The USBridge Ecosystem is a professional-grade solution for system debugging and infrastructure management at the fundamental hardware level (Layer 0). It provides administrators with absolute control over hardware, bypassing the operating system while ensuring strict hardware isolation.
In plain terms: IP-KVM firmware with Moonlight streaming for the Sipeed NanoKVM, Radxa Zero 3W / 3E and Radxa Cubie A7Z, plus a ready-made KVM. Remote BIOS access, virtual ISO mounting, ATX power control and Tailscale access with no port forwarding: a self-hosted alternative to iDRAC/iLO and other IP-KVMs.
Flash USBridge onto a board you already have. Same client apps, same API, same OTA updates on every one.
| Radxa Zero 3W / 3E | Radxa Cubie A7Z | Sipeed NanoKVM | |
|---|---|---|---|
| What it is | SBC + USB 3.0 capture card | SBC + USB 3.0 capture card | Off-the-shelf KVM, reflashed |
| SoC | Rockchip RK3566, 4 cores | Allwinner A733, 8 cores | SOPHGO SG2002, 1 RISC-V core |
| RAM | 1–8 GB | 1–16 GB | 256 MB |
| Video capture | USB 3.0 (UVC) · MIPI coming | USB 3.0 (UVC) · MIPI coming | MIPI CSI (built-in HDMI) |
| Video | 1080p60 | 1080p60 · up to 4K30 on MIPI (coming) | 1080p60 |
| Codecs | H.264, HEVC | H.264, HEVC | H.264, HEVC |
| Latency | USB: +10–15 ms vs MIPI · MIPI: lowest | USB: +10–15 ms vs MIPI · MIPI: lowest | Lowest (MIPI) |
| BIOS-in-Terminal (OCR) | ✅ NPU | ✅ CPU | — |
| Status display | 3W: ✅ 240×240 color LCD + monitor mode · 3E: not yet | ✅ 240×240 color LCD + monitor mode | ✅ built-in 128×64 mono OLED, status only |
| Get it | Download firmware ➔ | Download firmware ➔ | Download firmware ➔ |
Full side-by-side — latency, audio, codecs, storage, every feature: NanoKVM vs Radxa Zero 3W vs Cubie A7Z ➔
Raspberry Pi and Banana Pi support is in development.

| Client Ecosystem Seamlessly integrate into the USBridge Client ecosystem as a unified point of control. Manage hardware KVMs, software agents, and remote desktops over an encrypted, peer-to-peer Tailscale mesh with zero port forwarding. |
BIOS-in-Terminal OCR Engine Real-time local OCR converts raw video into an interactive terminal stream directly on the device, bypassing cloud dependencies. Copy boot logs, search POST error codes, and administer machines over lightweight SSH. |

| Immutable Snapshots Built on a hardware-isolated Btrfs architecture. Deltas are recorded and instantly frozen as read-only states, providing unbreakable rollbacks against ransomware, corrupted updates, and failed boots. |
Virtual Storage ISO Media Hardware mass storage emulation enables remote mounting of ISO, IMG, VDI, or VMDK images in read-only or read-write modes. Install operating systems and execute bootable rescue utilities out-of-band utilizing high-speed RAM caching. |

| Automation MCP Protocol Integrate AI models via the Model Context Protocol (MCP) to automate BIOS configuration and execute hardware diagnostics. Utilize Starlark scripts to evaluate verifiable OCR text streams instead of fragile pixel matching. |
Turnkey KVM Deploy a ready-to-run hardware appliance engineered for instant integration. The pre-assembled USBridge KVM 2.0 features an OLED status display, active cooling, dual-band Wi-Fi, and pre-flashed firmware out of the box. |
Provision a supported SBC, flash the firmware image, and connect a standard USB capture interface to deploy your own IP-KVM.
| Component | Description |
|---|---|
| Supported SBC | Radxa Zero 3W / 3E, Radxa Cubie A7Z; also the off-the-shelf Sipeed NanoKVM (HDMI capture built in). Which to pick: board comparison. |
| HDMI-to-USB Capture Card | Generic MS2109 (7–12$), or standard UVC dongle. |
| MicroSD Card (2GB+) | Standard 2GB+ capacity. Class 10 or higher recommended for fast boot times. |
| Optional: Status Screen | 1.3" 240×240 LCD: the USBridge 1.3" LCD Flip-HAT (mirrored pinout, SoC stays against the heatsink) or the standard Waveshare 1.3" LCD HAT. Fits both the Radxa Zero 3W and the Cubie A7Z; not supported on the Zero 3E yet. Fully optional: the system runs headless via a single config file. |
Watch the complete guide on how to flash the firmware and perform the first boot.
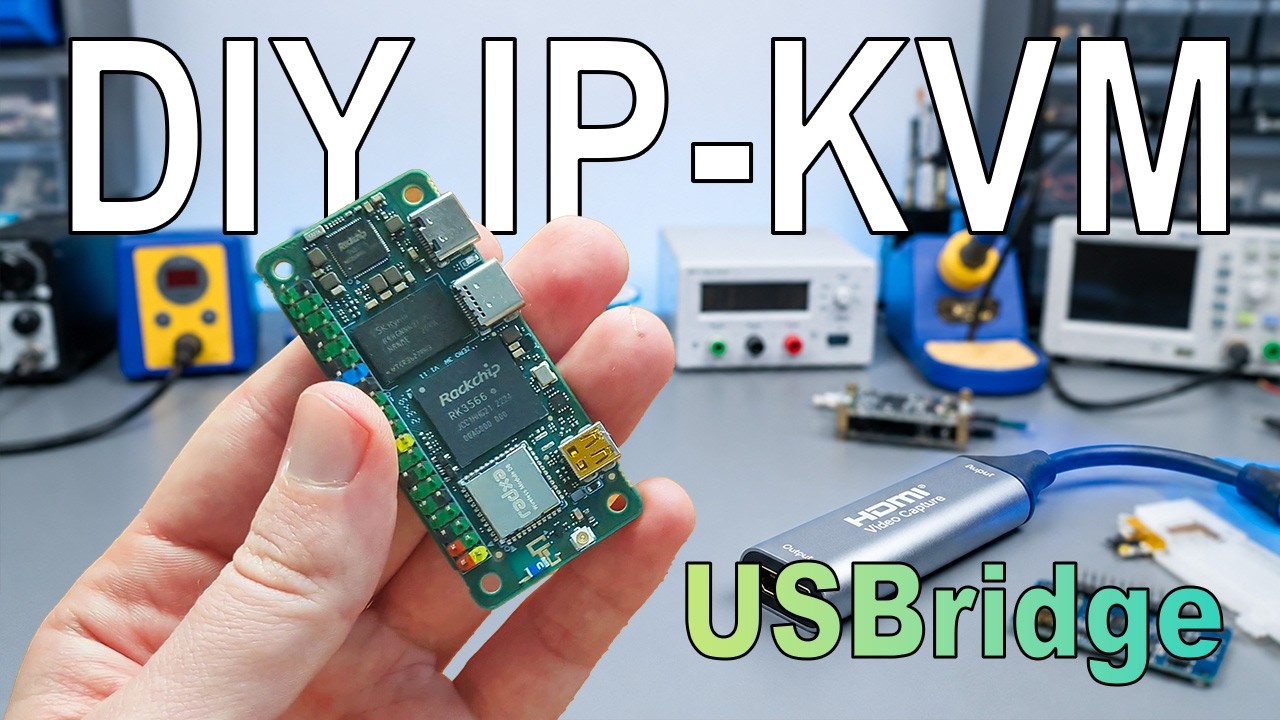
Quick Links for Setup:
Forget about "jelly" cursors, video stutters, and input desync. USBridge-KVM 2.0 is the first hardware KVM-over-IP featuring native, on-board integration of the Moonlight protocol.
The hardware video capture and transmission pipeline is optimized to reduce latency to an imperceptible level. You get the absolute responsiveness of a direct connection: crystal-smooth mouse movement and instantaneous text input response. The latency is so low that the bandwidth and reaction speed are enough even for comfortable gameplay in dynamic platformers — let alone flawless server administration.
The USBridge-KVM 2.0 goes beyond standard video streaming by analyzing the signal at the hardware level. The integrated compute module performs real-time, local Optical Character Recognition (OCR) and AI Vision, converting BIOS, Pre-OS, and graphical environments into an interactive data stream.
- AI Vision & Local Models: A built-in MCP Proxy enables the activation of local AI models for autonomous visual analysis of graphical user interfaces. The system automatically recognizes interactive elements, text blocks, and on-screen buttons (highlighting them with bounding boxes), ensuring precise navigation without manual pixel hunting.
- AI Agent Integration (MCP Protocol): Connect external or local AI agents via a local endpoint (e.g.,
http://127.0.0.1:8765/api/mcp). The neural network independently analyzes the screen structure, navigates through tabs, conducts system audits, and detects hardware failures based on visual data. - Interactive Text-Based BIOS via SSH: Configure the BIOS directly through a standard SSH session. The interface is rendered as plain text, allowing for immediate copying of error codes, BIOS versions, and serial numbers straight from the console.
- In-Client Scripting (Starlark): Create and execute Starlark (Python syntax) scripts directly from the client interface. Automation relies on recognized text and objects: scripts can reliably wait for a specific target string (e.g.,
"Aptio Setup Utility") to appear and then send the exact scan-code for navigation.

Universal hardware emulation allows you to mount virtual images directly from your workstation — whether it is a standard installation disc (ISO) or an entire, fully configured OS environment (VDI, VMDK). The target server sees it instantly as a standard, physically connected hard drive. The high-speed LPDDR4X cache fully compensates for network latency, while the Read-Write Overlay mode redirects all new writes to a separate layer, keeping your source Golden Image completely untouched.
During any modification, the system never overwrites the source files; instead, it saves only the "delta" of changes, instantly freezing the new copy in a read-only state. Thanks to strict hardware isolation, even if ransomware or an attacker gains full root privileges on the compromised server, they have no physical path to reach the KVM storage. All data is stored using the standard Btrfs file system.
| Feature | USBridge 2.0 (Our Solution) | Embedded BMC (iDRAC / iLO) | Traditional IP-KVM |
|---|---|---|---|
| Hardware Independence | Yes (Any hardware) | No (Vendor lock-in) | Yes |
| Screen OCR & SSH Terminal | Yes (On-device offline OCR) | No | No |
| AI Agents & Starlark Scripts | Yes (Built-in engine) | No | No |
| Immutable Snapshots | Yes (Btrfs, isolated) | No | No |
| Video Latency | Ultra-Low (Moonlight) | High (Web GUI) | Medium (WebRTC / MJPEG) |
| Power Management | Yes (Module included) | Yes | No (Requires external PDU) |
| Virtual Media | Yes (Out-of-the-box + Cache) | Yes (Often requires license) | Model dependent |

The Client is the control interface installed on your workstation, laptop, or mobile device. It manages active hardware connections, live remote desktop streaming, virtual device passthrough, and your snapshot registry.
All-in-one installer (Client + Agent, pick either or both during setup): Windows Setup (.exe) · macOS disk image (.dmg)
| Platform | Installer | Portable | Packages / Store |
|---|---|---|---|
| Windows x86_64 | Setup (.exe) | Portable (.zip) | — |
| macOS Apple Silicon | Disk image (.dmg) | — | — |
| Linux x86_64 | Debian / Ubuntu (.deb) · Fedora / RHEL (.rpm) · Arch (.pkg.tar.zst) | AppImage | APT · DNF · pacman repository · Snap Store |
| Android ARM64 | APK (self-updating) | — | Google Play |
| iOS / iPadOS | — | — | App Store |
| Web browser | — | Open web.usbridge.io | — |
All files and release notes: latest release. One-line install from the terminal (Linux, macOS, Windows) and the APT / DNF / pacman repository: Install from the terminal.
Unified Ecosystem: USBridge-Remote
Control your entire infrastructure from a single point using USBridge-Remote — our dedicated cross-platform agent application. It enables a hybrid access approach within a single interface, combining hardware and software-level management:
- Hardware Level (Layer 0): Add USBridge-KVM devices for direct BIOS access, media mounting, and bare-metal recovery of "dead" machines.
- Software Level (OS-level): Deploy this lightweight software agent inside an already booted operating system for instant desktop management without KVM hardware dependency.
The agent runs as a background service on your target OS (servers, remote workstations, or headless nodes) to stream the desktop and execute system-level commands.
|

|
More on the Agent: USBridge-Remote.
- SoC: Radxa Zero 3W (Rockchip RK3566, Quad-Core Cortex-A55).
- Cooling: Custom CNC-milled aluminum heatsinks with an active cooling fan to prevent thermal throttling.
- Display: Integrated IPS screen (240x240) for instant POST status monitoring via the built-in display mode.
- Power Management: Dedicated Power Management Module board for hardware-level server power control.
- Enclosure: Premium 3D-printed SLS Nylon PA12 case.
- Video Capture: Hardware-level UVC capture supporting 1080p@30fps / 720p@60fps via an external USB dongle, natively integrated with Moonlight.
- USB Type-C (2 ports):
- Port 1 (OTG): Keyboard/mouse emulation, image mounting (Mass Storage), and power delivery input.
- Port 2 (Host): Dedicated port for connecting the external USB video capture dongle.
- Power Management Module: 8-pin GPIO interface with external Power/Reset adapter board.
- Network: Built-in Wi-Fi 6 module.
- Snapshots: Dedicated MicroSD card slot.
- HDMI Passthrough: Micro HDMI port for local video output at the server rack.

- Port 1 (OTG): Connect this port to the target server/PC. It delivers power to the KVM, emulates the mouse/keyboard, and handles virtual media mounting.
- Port 2 (Host): Connect the external video capture dongle here. Link the dongle to your server's video output using an HDMI cable.
Important
Critical: Video Capture Dongle Modes The USB Type-C capture dongle operates in two different modes depending on its orientation when plugged into the port. Please verify its status in the app:
[5G]Mode (USB 3.0): Standard high-performance mode. It provides maximum bandwidth (5 Gbps), rich image quality, and ultra-low input lag. This is your target mode.[480M]Mode (USB 2.0): Slow compatibility mode (480 Mbps). The video stream may suffer from compression artifacts or noticeable latency.
The Fix: If you see the [480M] status, simply unplug the Type-C cable from the KVM, flip it 180°, and plug it back in to lock onto the [5G] mode.
- Network Configuration: The device comes with built-in Wi-Fi 6 and native Tailscale integration for instant remote access without messy router/firewall configurations. For initial Wi-Fi setup, use the integrated on-board IPS display or the local web panel.
- Firmware Update: Once connected to the internet, navigate to the settings and update the device to the latest firmware version. Please allow a couple of minutes for the initial server synchronization.
- Launch: Open the USBridge-Client application, add your new device using its IP address, and you are ready to go.
- Snapshot Setup (Data Protection): Insert a MicroSD card into the KVM slot, open the device settings in the client app, and format the card. Once formatted, a backup drive will appear under the "Snapshots" tab, running a Btrfs-based Read-Write Overlay mode to protect your data.
- In the app interface, go to Settings -> Authentication -> User Control -> Create User.
- Set up a username and password for authorization.
- Open your favorite terminal emulator and run:
ssh user@<kvm_ip_address>
- When prompted, enter the password you created in Step 2.
Ready for Action! Once authorized, your terminal will instantly clear and start rendering the BIOS/Pre-OS video signal directly into your console as a live, interactive text stream. You can now select error codes, copy serial numbers, or pass automated Starlark scripts straight through the terminal session.
Warning
At this stage, the BIOS-in-Terminal feature exclusively supports text-based BIOS screens. Graphical UEFI interfaces are not yet recognized. You may notice minor character artifacts due to the OCR engine—the processing logic is being actively optimized, and accuracy will be perfected by the final release.
To enable direct hardware-level power management (power on, power off, hard reset), use the included expansion board:

- Input: A pre-wired ribbon cable is already connected to the expansion module. Plug its other end into the 8-pin GPIO header on the USBridge-KVM chassis.
- Output (to the server's motherboard): Connect the individual pins on the opposite side of the module to the Front Panel headers of your motherboard. Follow the white silk-screen labels on the PCB:
| Expansion Board Pin | Target Motherboard Header | Description |
|---|---|---|
|PWR| |
Power Switch (PWR_SW / PW_SW) | Powers the server on or off |
|RST| |
Reset Switch (RESET / RST) | Triggers a hard hardware reset |
|LED1| |
Power LED (P_LED) | Reports the server's power status to the client, even if there is no video signal |
|LED2| |
HDD LED (H_LED) | Displays storage drive activity inside the client UI |

Every USBridge-KVM 2.0 kit comes with all the essential hardware and cables required for an out-of-the-box deployment:
- Premium SLS Case: The main USBridge-KVM 2.0 unit enclosed in a durable, 3D-printed SLS Nylon PA12 housing with an integrated post-status IPS display.
- HDMI Video Capture Dongle: High-performance external hardware-level UVC capture stick (supporting 1080p@30fps / 720p@60fps).
- USB Type-C to Type-C Cable: High-speed data cable used to interconnect the host port of the KVM and the capture dongle.
- Power Management Module Board: Dedicated adapter PCB for hardware-level server power control (Power/Reset/LEDs), complete with a pre-wired ribbon cable.
- Female-to-Female Dupont Jumper Wires: Colorful 8-pin jumper wire set to easily bridge the Power Module board directly to your server's motherboard front panel headers.
Note
What else you might need: To connect the setup to your server, you will only need a standard HDMI cable to link your server's GPU output directly to the included video capture dongle. Everything else is already in the box!
The full technical documentation covers setup, the KVM/video pipeline, BIOS-in-Terminal, Starlark/MCP AI-agent scripting, snapshot storage, hardware reference, and the REST API. A few of the pages people look for most:
- Firmware Update Guide — OTA updates, plus a full eMMC recovery reflash over USB (Linux/macOS/Windows, including WSL) if a device won't boot.
flash-tool/— the recovery/first-flash script itself, ready to run.- Quick Start Guide and Headless & Bulk Provisioning for initial setup.
| Channel | Review / Video | Link |
|---|---|---|
| Learn To HomeLab | Is This The Best KVM On The Market? | Watch on YouTube |
| Barmine Tech | The Best KVM I've Used? USBridge KVM 2.0 (Independent Review) | Watch on YouTube |
| Jonatan Castro | Unboxing & What's in the box (Spanish) | Watch on YouTube |
| USBridge | NanoKVM with USBridge firmware: 60 FPS instead of lag | Watch on YouTube |
| USBridge | Official Overview & Feature Walkthrough | Watch on YouTube |
| USBridge | Full Assembly & Packaging of USBridge KVM 2.0 | Watch on YouTube |